Adding a new Sub-schedule

Contents
Raising a new Sub-Schedule manually:
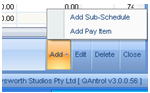
1.Select the register control button “Add” located at the bottom right hand side of the screen, a pop-up menu will display with two options, select “Add Sub-Schedule” and the “Sub-Schedule Details” Editor will appear;
2.Enter the new Sub-Schedule 1or Sub-Schedule 2 title or description in to the “Name” field;
3.Select the associated Parent Schedule for the new Sub-Schedule from the pre-defined options displayed in the pull down menu.
4.For a new Sub-Schedule 1, leave the “Parent Sub-Schedule” blank. For a new Sub-Schedule 2, select the associated Sub-Schedule 1 from the pre-defined options displayed in the pull down menu;
5.Select a Sort Order number. This field is used to specify the order of display of the sub-schedule rows in the register;
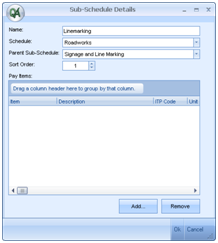
6.To populate a Sub-Schedule with “Work Items”, select “Add;
7.The “Work Item Selection” Editor will appear listing all “Work Items”;
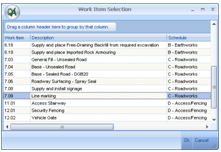
8.Select “Work Item(s)” to be populated into the new Sub-Schedule using the mouse. The selected “Work Item” will be high lighted in blue. To block select multiple Work Items, on the key board depress the “Shift” key whilst simultaneously selecting the first and last Work items in the block with the mouse, the selected block of “Work Items will be high lighted in blue;
9.Select OK from the “Work Item Selection” editor to save the selected “Work Items” onto the “Sub-Schedule Details” editor.
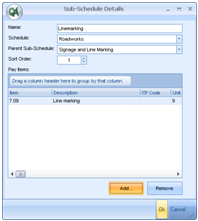
10.Select OK from the “Sub-Schedule Details” editor to save. On save the new Sub-Schedule will be created in the Work Item register and the selected “Work Item(s)” will be populated into the new “Sub-Schedule.